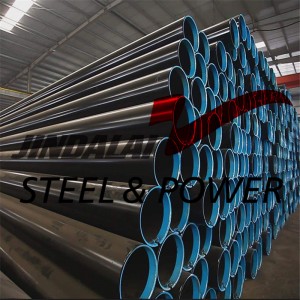
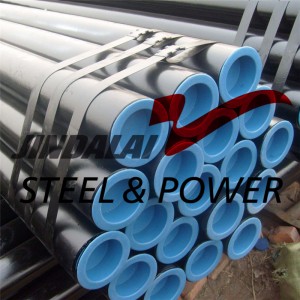
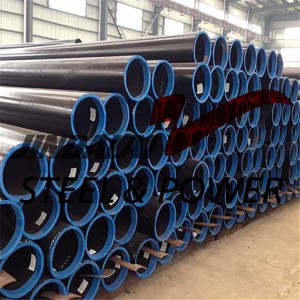
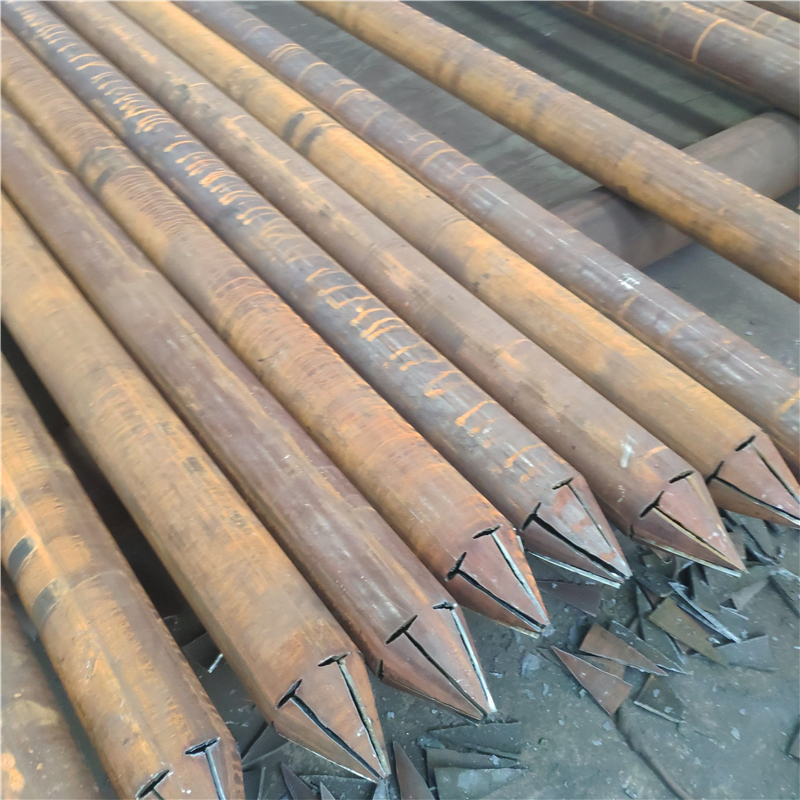
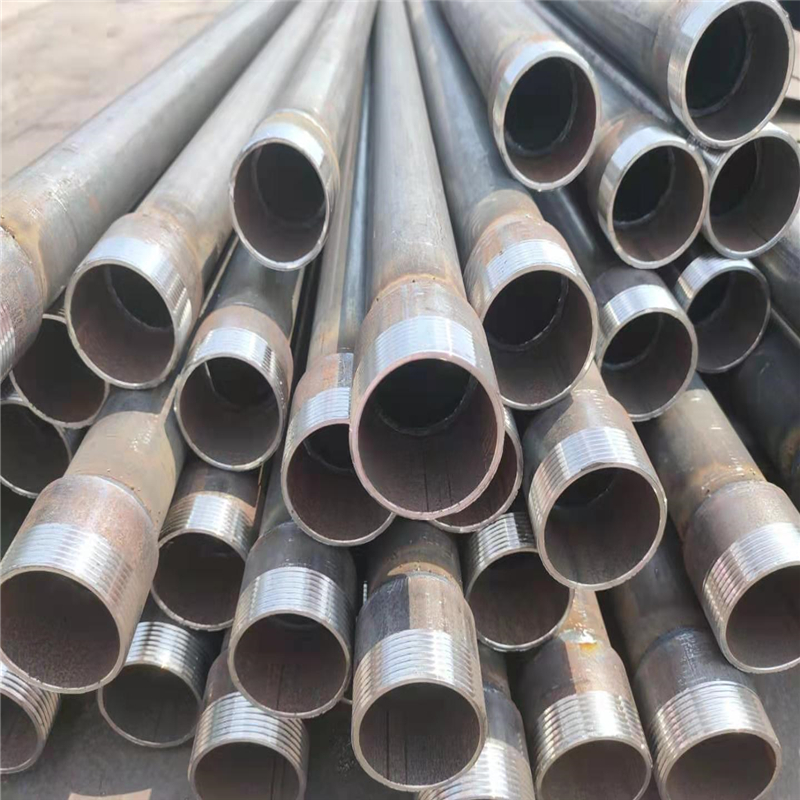
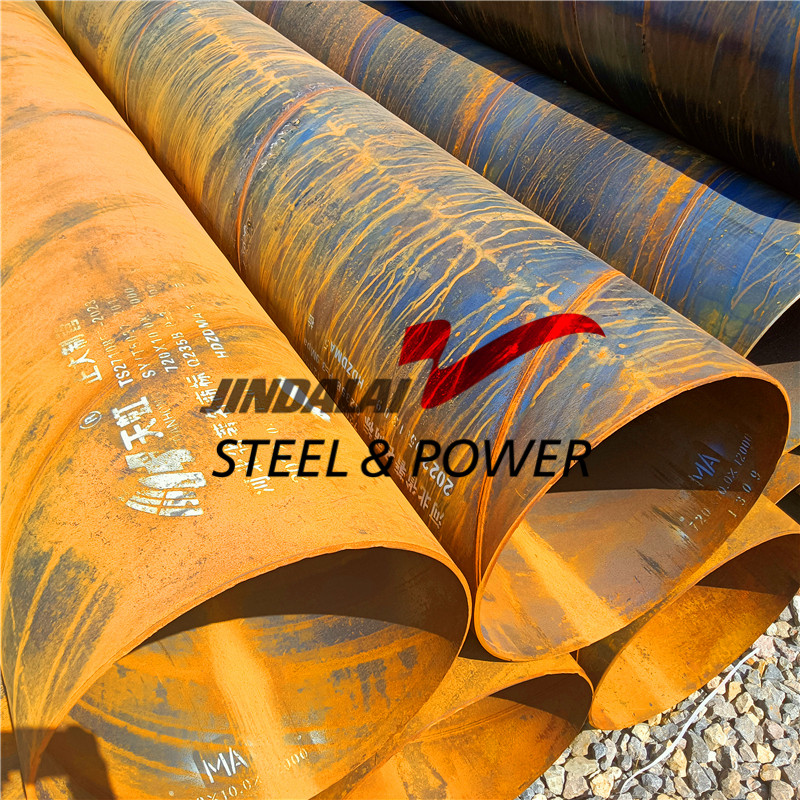
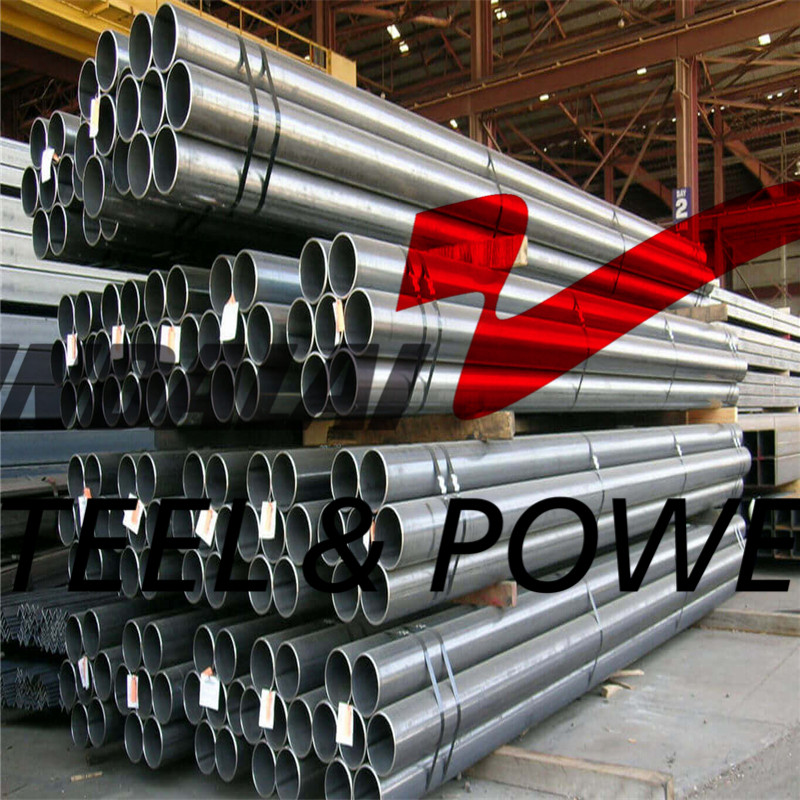
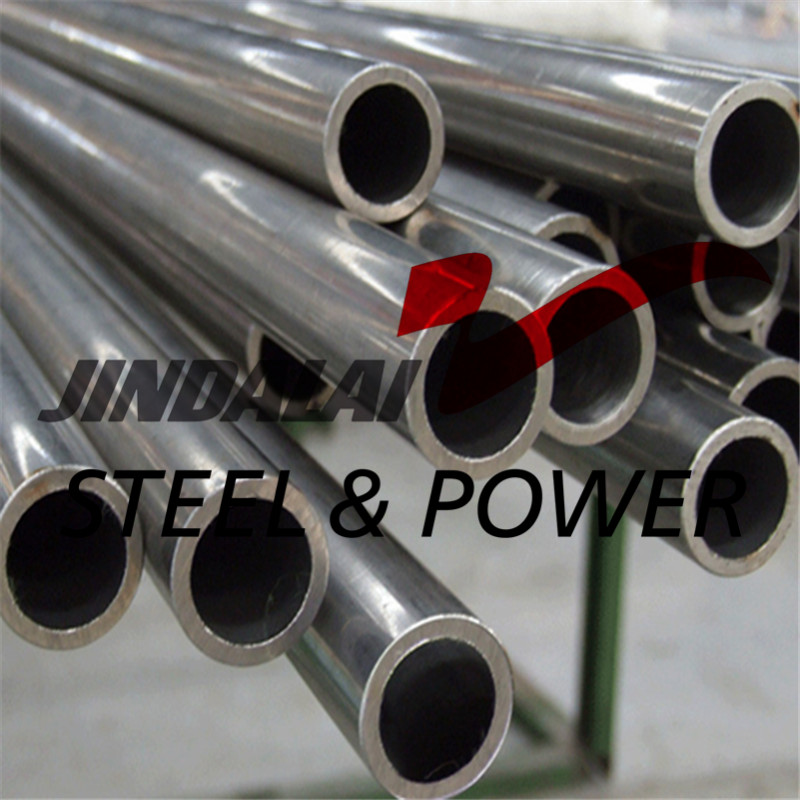
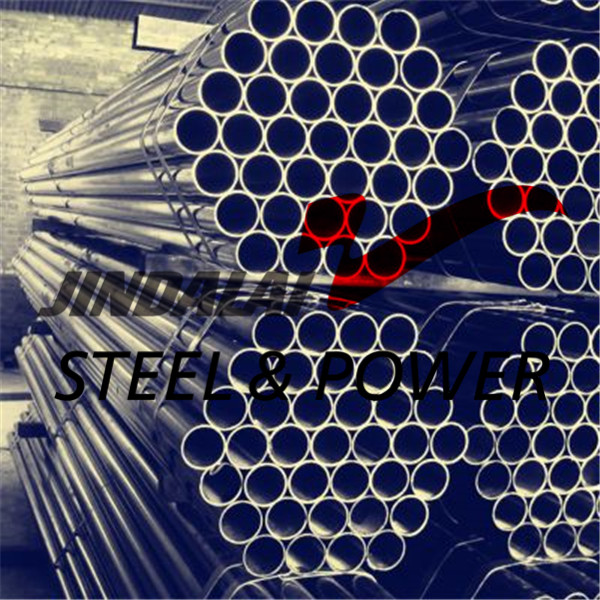
Classification per production method
● Seamless
● Welded
Classification per welding method
● ERW
● SAWL
● SSAW
Size scope
| Type | OD | Thickness |
| SEAMLESS | Ø33.4-323.9mm (1-12 in) | 4.5-55mm |
| ERW | Ø21.3-609.6mm (1/2-24 in) | 8-50mm |
| SAWL | Ø457.2-1422.4mm (16-56 in) | 8-50mm |
| SSAW | Ø219.1-3500mm (8-137.8 in) | 6-25.4mm |
Equivalent grades
| Standard | Grade | |||||||||
| API 5L | A25 | Gr A | GrB | X42 | X46 | X52 | X56 | 60 | 65 | 70 |
| GB/T 9711 ISO 3183 |
L175 | L210 | L245 | L290 | L320 | L360 | L390 | L415 | L450 | L485 |
Chemical composition
Chemical Composition for PSL 1 pipe with t ≤ 0.984"
| Steel Grade | Mass fraction, % based on heat and product analyses a,g | |||||||
| C | Mn | P | S | V | Nb | Ti | ||
| max b | max b | max | max | max | max | max | ||
| Seamless Pipe | ||||||||
| A | 0.22 | 0.9 | 0.3 | 0.3 | – | – | – | |
| B | 0.28 | 1.2 | 0.3 | 0.3 | c,d | c,d | d | |
| X42 | 0.28 | 1.3 | 0.3 | 0.3 | d | d | d | |
| X46 | 0.28 | 1.4 | 0.3 | 0.3 | d | d | d | |
| X52 | 0.28 | 1.4 | 0.3 | 0.3 | d | d | d | |
| X56 | 0.28 | 1.4 | 0.3 | 0.3 | d | d | d | |
| X60 | 0.28 e | 1.40 e | 0.3 | 0.3 | f | f | f | |
| X65 | 0.28 e | 1.40 e | 0.3 | 0.3 | f | f | f | |
| X70 | 0.28 e | 1.40 e | 0.3 | 0.3 | f | f | f | |
| Welded Pipe | ||||||||
| A | 0.22 | 0.9 | 0.3 | 0.3 | – | – | – | |
| B | 0.26 | 1.2 | 0.3 | 0.3 | c,d | c,d | d | |
| X42 | 0.26 | 1.3 | 0.3 | 0.3 | d | d | d | |
| X46 | 0.26 | 1.4 | 0.3 | 0.3 | d | d | d | |
| X52 | 0.26 | 1.4 | 0.3 | 0.3 | d | d | d | |
| X56 | 0.26 | 1.4 | 0.3 | 0.3 | d | d | d | |
| X60 | 0.26 e | 1.40 e | 0.3 | 0.3 | f | f | f | |
| X65 | 0.26 e | 1.45 e | 0.3 | 0.3 | f | f | f | |
| X70 | 0.26e | 1.65 e | 0.3 | 0.3 | f | f | f | |
a. Cu ≤ = 0.50% Ni; ≤ 0.50%; Cr ≤ 0.50%; and Mo ≤ 0.15%,
b. For each reduction of 0.01% below the specified maximum concentration for carbon, an increase of 0.05% above the specified maximum concentration for Mn is permissible, up to a maximum of 1.65% for grades ≥ L245 or B, but ≤ L360 or X52; up to a maximum of 1.75% for grades > L360 or X52, but < L485 or X70; and up to a maximum of 2.00% for grade L485 or X70.,
c. Unless otherwise agreed NB + V ≤ 0.06%,
d. Nb + V + TI ≤ 0.15%,
e. Unless otherwise agreed.,
f. Unless otherwise agreed, NB + V = Ti ≤ 0.15%,
g. No deliberate addition of B is permitted and the residual B ≤ 0.001%
Chemical Composition for PSL 2 pipe with t ≤ 0.984
| Steel Grade | Mass fraction, % based on heat and product analyses | Carbon Equivalent | |||||||||
| C | Si | Mn | P | S | V | Nb | Ti | Other | CE IIW | CE Pcm | |
| max b | max | max b | max | max | max | max | max | max | max | ||
| Seamless Pipe | |||||||||||
| BR | 0.24 | 0.4 | 1.2 | 0.025 | 0.015 | c | c | 0.04 | e,l | 0.43 | 0.25 |
| X42R | 0.24 | 0.4 | 1.2 | 0.025 | 0.015 | 0.06 | 0.05 | 0.04 | e,l | 0.43 | 0.25 |
| BN | 0.24 | 0.4 | 1.2 | 0.025 | 0.015 | c | c | 0.04 | e,l | 0.43 | 0.25 |
| X42N | 0.24 | 0.4 | 1.2 | 0.025 | 0.015 | 0.06 | 0.05 | 0.04 | e,l | 0.43 | 0.25 |
| X46N | 0.24 | 0.4 | 1.4 | 0.025 | 0.015 | 0.07 | 0.05 | 0.04 | d,e,l | 0.43 | 0.25 |
| X52N | 0.24 | 0.45 | 1.4 | 0.025 | 0.015 | 0.1 | 0.05 | 0.04 | d,e,l | 0.43 | 0.25 |
| X56N | 0.24 | 0.45 | 1.4 | 0.025 | 0.015 | 0.10f | 0.05 | 0.04 | d,e,l | 0.43 | 0.25 |
| X60N | 0.24f | 0.45f | 1.40f | 0.025 | 0.015 | 0.10f | 0.05f | 0.04f | g,h,l | As agreed | |
| BQ | 0.18 | 0.45 | 1.4 | 0.025 | 0.015 | 0.05 | 0.05 | 0.04 | e,l | 0.43 | 0.25 |
| X42Q | 0.18 | 0.45 | 1.4 | 0.025 | 0.015 | 0.05 | 0.05 | 0.04 | e,l | 0.43 | 0.25 |
| X46Q | 0.18 | 0.45 | 1.4 | 0.025 | 0.015 | 0.05 | 0.05 | 0.04 | e,l | 0.43 | 0.25 |
| X52Q | 0.18 | 0.45 | 1.5 | 0.025 | 0.015 | 0.05 | 0.05 | 0.04 | e,l | 0.43 | 0.25 |
| X56Q | 0.18 | 0.45f | 1.5 | 0.025 | 0.015 | 0.07 | 0.05 | 0.04 | e,l | 0.43 | 0.25 |
| X60Q | 0.18f | 0.45f | 1.70f | 0.025 | 0.015 | g | g | g | h,l | 0.43 | 0.25 |
| X65Q | 0.18f | 0.45f | 1.70f | 0.025 | 0.015 | g | g | g | h,l | 0.43 | 0.25 |
| X70Q | 0.18f | 0.45f | 1.80f | 0.025 | 0.015 | g | g | g | h,l | 0.43 | 0.25 |
| X80Q | 0.18f | 0.45f | 1.90f | 0.025 | 0.015 | g | g | g | i,j | As agreed | |
| X90Q | 0.16f | 0.45f | 1.9 | 0.02 | 0.01 | g | g | g | j,k | As agreed | |
| X100Q | 0.16f | 0.45f | 1.9 | 0.02 | 0.01 | g | g | g | j,k | As agreed | |
| Welded pipe | |||||||||||
| BM | 0.22 | 0.45 | 1.2 | 0.025 | 0.015 | 0.05 | 0.05 | 0.04 | e,l | 0.43 | 0.25 |
| X42M | 0.22 | 0.45 | 1.3 | 0.025 | 0.015 | 0.05 | 0.05 | 0.04 | e,l | 0.43 | 0.25 |
| X46M | 0.22 | 0.45 | 1.3 | 0.025 | 0.015 | 0.05 | 0.05 | 0.04 | e,l | 0.43 | 0.25 |
| X52M | 0.22 | 0.45 | 1.4 | 0.025 | 0.015 | d | d | d | e,l | 0.43 | 0.25 |
| X56M | 0.22 | 0.45f | 1.4 | 0.025 | 0.015 | d | d | d | e,l | 0.43 | 0.25 |
| X60M | 0.12f | 0.45f | 1.60f | 0.025 | 0.015 | g | g | g | h,l | 0.43 | 0.25 |
| X65M | 0.12f | 0.45f | 1.60f | 0.025 | 0.015 | g | g | g | h,l | 0.43 | 0.25 |
| X70M | 0.12f | 0.45f | 1.70f | 0.025 | 0.015 | g | g | g | h,l | 0.43 | 0.25 |
| X80M | 0.12f | 0.45f | 1.85f | 0.025 | 0.015 | g | g | g | i,j | .043f | 0.25 |
| X90M | 0.1 | 0.55f | 2.10f | 0.02 | 0.01 | g | g | g | i,j | – | 0.25 |
| X100M | 0.1 | 0.55f | 2.10f | 0.02 | 0.01 | g | g | g | i,j | – | 0.25 |
a. SMLS t>0.787", CE limits shall be as agreed. The CEIIW limits applied fi C > 0.12% and the CEPcm limits apply if C ≤ 0.12%,
b. For each reduction of 0.01% below the specified maximum for C, an increase of 0.05% above the specified maximum for Mn is permissible, up to a maximum of 1.65% for grades ≥ L245 or B, but ≤ L360 or X52; up to a maximum of 1.75% for grades > L360 or X52, but < L485 or X70; up to a maximum of 2.00% for grades ≥ L485 or X70, but ≤ L555 or X80; and up to a maximum of 2.20% for grades > L555 or X80.,
c. Unless otherwise agreed Nb = V ≤ 0.06%,
d. Nb = V = Ti ≤ 0.15%,
e. Unless otherwise agreed, Cu ≤ 0.50%; Ni ≤ 0.30% Cr ≤ 0.30% and Mo ≤ 0.15%,
f. Unless otherwise agreed,
g. Unless otherwise agreed, Nb + V + Ti ≤ 0.15%,
h. Unless otherwise agreed, Cu ≤ 0.50% Ni ≤ 0.50% Cr ≤ 0.50% and MO ≤ 0.50%,
i. Unless otherwise agreed, Cu ≤ 0.50% Ni ≤ 1.00% Cr ≤ 0.50% and MO ≤ 0.50%,
j. B ≤ 0.004%,
k. Unless otherwise agreed, Cu ≤ 0.50% Ni ≤ 1.00% Cr ≤ 0.55% and MO ≤ 0.80%,
l. For all PSL 2 pipe grades except those grades with footnotes j noted, the following applies. Unless otherwise agreed no intentional addition of B is permitted and residual B ≤ 0.001%.
Mechanical property of API 5l
Requirements for the results of Tensile Tests For PSL 1 Pipe
| Pipe Grade | Yield Strength a | Tensile Strength a | Elongation | Tensile Strength b |
| Rt0,5 PSI Min | Rm PSI Min | (in 2in Af % min) | Rm PSI Min | |
| A | 30,500 | 48,600 | c | 48,600 |
| B | 35,500 | 60,200 | c | 60,200 |
| X42 | 42,100 | 60,200 | c | 60,200 |
| X46 | 46,400 | 63,100 | c | 63,100 |
| X52 | 52,200 | 66,700 | c | 66,700 |
| X56 | 56,600 | 71,100 | c | 71,100 |
| X60 | 60,200 | 75,400 | c | 75,400 |
| X65 | 65,300 | 77,500 | c | 77,500 |
| X70 | 70,300 | 82,700 | c | 82,700 |
| a. For intermediate grade, the difference between the specified minimum tensile strength and the specified minimum yield for the pipe body shall be as given for the next higher grade. | ||||
| b. For the intermediate grades, the specified minimum tensile strength for the weld seam shall be the same as determined for the body using foot note a. | ||||
| c. The specified minimum elongation, Af, expressed in percent and rounded to the nearest percent, shall be determined using the following equation: | ||||
| Where C is 1 940 for calculation using Si units and 625 000 for calculation using USC units | ||||
| Axc is the applicable tensile test piece cross-sectional area, expressed in square millimeters (square inches) , as follows | ||||
| – For circular cross-section test pieces, 130mm2 (0.20 in2) for 12.7 mm (0.500 in) and 8.9 mm (.350 in) diameter test pieces; and 65 mm2 (0.10 in2) for 6.4 mm (0.250in) diameter test pieces. | ||||
| – For full-section test pieces, the lesser of a) 485 mm2 (0.75 in2) and b) the cross-sectional area of the test piece, derived using the specified outside diameter and the specified wall thickness of the pipe, rounded to the nearest 10 mm2 (0.10in2) | ||||
| – For strip test pieces, the lesser of a) 485 mm2 (0.75 in2) and b) the cross-sectional area of the test piece, derived using the specified width of the test piece and the specified wall thickness of the pipe, rounded to the nearest 10 mm2 (0.10in2) | ||||
| U is the specified minimum tensile strength, expressed in megapascals (pounds per square inch) | ||||
Requirements for the results of Tensile Tests For PSL 2 Pipe
| Pipe Grade | Yield Strength a | Tensile Strength a | Ratio a,c | Elongation | Tensile Strength d | ||
| Rt0,5 PSI Min | Rm PSI Min | R10,5IRm | (in 2in) | Rm (psi) | |||
| Minimum | Maximum | Minimum | Maximum | Maximum | Minimum | Minimum | |
| BR, BN,BQ,BM | 35,500 | 65,300 | 60,200 | 95,000 | 0.93 | f | 60,200 |
| X42,X42R,X2Q,X42M | 42,100 | 71,800 | 60,200 | 95,000 | 0.93 | f | 60,200 |
| X46N,X46Q,X46M | 46,400 | 76,100 | 63,100 | 95,000 | 0.93 | f | 63,100 |
| X52N,X52Q,X52M | 52,200 | 76,900 | 66,700 | 110,200 | 0.93 | f | 66,700 |
| X56N,X56Q,X56M | 56,600 | 79,000 | 71,100 | 110,200 | 0.93 | f | 71,100 |
| X60N,X60Q,S60M | 60,200 | 81,900 | 75,400 | 110,200 | 0.93 | f | 75,400 |
| X65Q,X65M | 65,300 | 87,000 | 77,600 | 110,200 | 0.93 | f | 76,600 |
| X70Q,X65M | 70,300 | 92,100 | 82,700 | 110,200 | 0.93 | f | 82,700 |
| X80Q,X80M | 80,.500 | 102,300 | 90,600 | 119,700 | 0.93 | f | 90,600 |
| a. For intermediate grade, refer to the full API5L specification. | |||||||
| b. for grades > X90 refer to the full API5L specification. | |||||||
| c. This limit applies for pies with D> 12.750 in | |||||||
| d. For intermediate grades, the specified minimum tensile strength for the weld seam shall be the same value as was determined for the pipe body using foot a. | |||||||
| e. for pipe requiring longitudinal testing, the maximum yield strength shall be ≤ 71,800 psi | |||||||
| f. The specified minimum elongation, Af, expressed in percent and rounded to the nearest percent, shall be determined using the following equation: | |||||||
| Where C is 1 940 for calculation using Si units and 625 000 for calculation using USC units | |||||||
| Axc is the applicable tensile test piece cross-sectional area, expressed in square millimeters (square inches), as follows | |||||||
| – For circular cross-section test pieces, 130mm2 (0.20 in2) for 12.7 mm (0.500 in) and 8.9 mm (.350 in) diameter test pieces; and 65 mm2 (0.10 in2) for 6.4 mm (0.250in) diameter test pieces. | |||||||
| – For full-section test pieces, the lesser of a) 485 mm2 (0.75 in2) and b) the cross-sectional area of the test piece, derived using the specified outside diameter and the specified wall thickness of the pipe, rounded to the nearest 10 mm2 (0.10in2) | |||||||
| – For strip test pieces, the lesser of a) 485 mm2 (0.75 in2) and b) the cross-sectional area of the test piece, derived using the specified width of the test piece and the specified wall thickness of the pipe, rounded to the nearest 10 mm2 (0.10in2) | |||||||
| U is the specified minimum tensile strength, expressed in megapascals (pounds per square inch | |||||||
| g. Lower values fo R10,5IRm may be specified by agreement | |||||||
| h. for grades > x90 refer to the full API5L specification. | |||||||
Application
The line pipe is used for transportation of water, oil, and gas for petroleum and natural gas industry.
JINDALAI STEEL provide qualified seamless and welded line pipes according to standand of API 5L, ISO 3183, and GB/T 9711.
Detail drawing
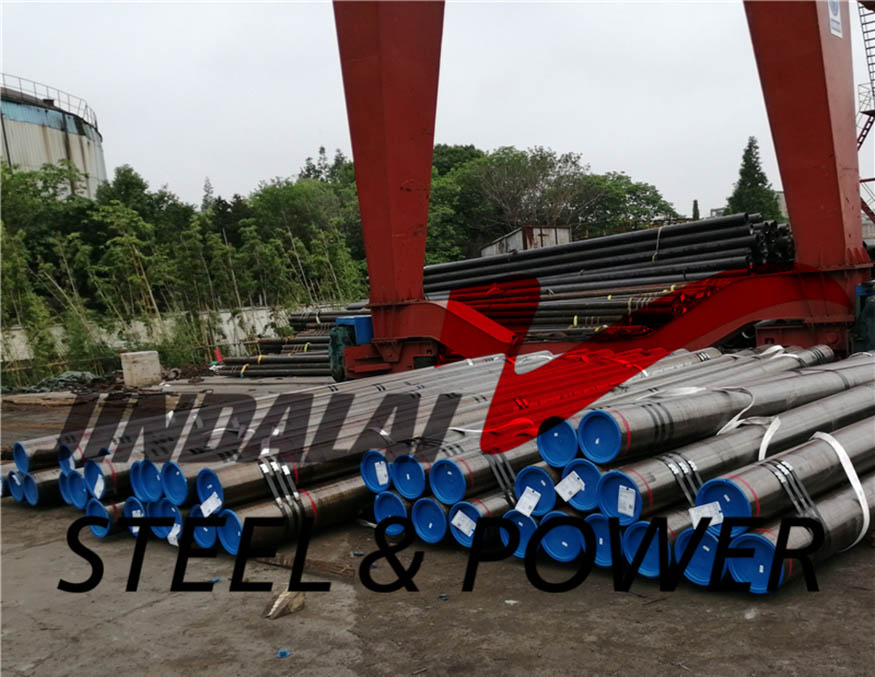
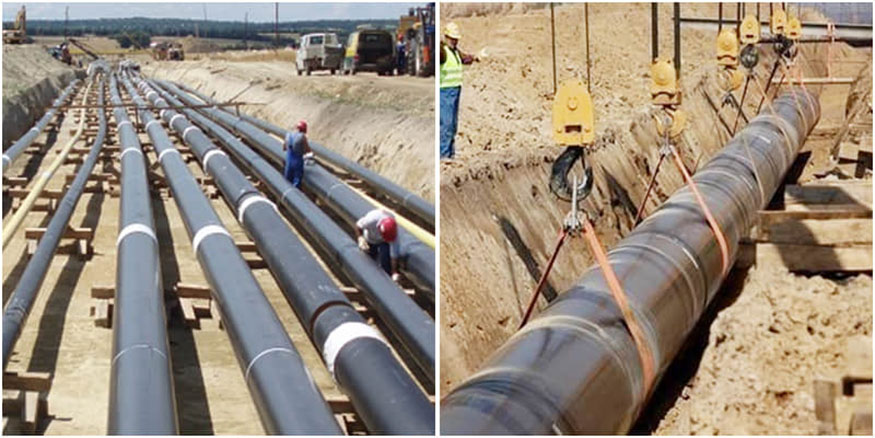
-
A106 Crosshole Sonic Logging Welded Tube
-
API 5L GRADE B PIPE
-
ASTM A106 Grade B Seamless Pipe
-
A106 GrB Seamless Grouting Steel Pipes for Pile
-
ASTM A53 Crosshole Sonic Logging (CSL) Welded Pipe
-
SSAW Steel Pipe/Spiral Weld Pipe
-
4140 Alloy Steel Tube & AISI 4140 Pipe
-
High Precision Steel pipe
-
ASME SA192 Boiler Pipes/A192 Seamless Steel Pipe
-
SA210 Seamless Steel Boiler Tube


